


If you are trying to figure out how to layer for cold weather, start with four basic jobs: BASE → MID / WARMTH → INSULATION → SHELL. You do not need every layer at maximum strength every time. The system works when each layer solves a specific problem and can be adjusted as activity and conditions change.
Active heat is one way to add warmth within the mid / warmth position when activity, temperature, wind, or exposure calls for it.
Every layer needs a job. The base layer manages skin-side comfort and internal moisture from sweat. The mid / warmth position adds insulation or active warmth as needed. Insulation helps retain the heat your body and warm layers create. The shell manages wind, rain, wet snow, and other external moisture.

The Four Jobs in a Winter Layering System
Think of layering as a job description, not a clothing count. If one layer tries to do everything, it usually does none of it well.
- Base: Sits closest to the skin and helps manage comfort and moisture from sweat.
- Mid / Warmth: Adds extra warmth as conditions require, whether through a regular mid layer, active heat, or both.
- Insulation: Traps air and slows heat loss to help retain warmth.
- Shell: Protects the system from wind, rain, wet snow, and other external moisture.
That is the logic behind a working cold-weather system. Each layer handles a different job, and the layers work together as conditions change. For Savior Heat, active warmth fits into this system as one flexible way to add warmth where and when it is needed—not as a replacement for the rest of the layering system. Clear jobs keep an outfit from becoming a pile of warm-looking pieces that never work together.
Start With the Layer Closest to Skin
A base layer is not about adding as much warmth as possible. Its first job is to stay comfortable next to the skin and help manage sweat during movement. Start too warm, and you may build up sweat sooner than expected. Start with the wrong base for your activity, and that discomfort can follow you through the rest of the system.
A good base layer should still feel comfortable after you have been moving for a while. Think about ten minutes into a walk, partway up a hill, or during a commute—once your body starts producing more of its own heat.
When active warmth makes sense close to the skin, Savior Heat's UWL201G3 and UWL202G3 show how heating can be integrated into that position without changing the base layer's core job. Their active heating adds warmth close to the body, while ClimaFlex® SkinGuard helps manage how that warmth is delivered against the skin for a more even, comfortable heating experience.
Add Active Heat Only Where It Helps the System
Active heat belongs in the warmth position of the system, not as a required fourth layer. On a mild but windy day, the base and shell may matter more. On a colder day with less movement, added warmth may become more useful. The key question is simple: what problem does this warmth solve in the system right now?
Active warmth can sit in different positions within the stack. A close-to-skin format keeps the heat source low-profile within the outfit, while a heated vest places warmth in a more flexible torso layer that can work with changing activity and conditions.
In this article, Savior Heat's UWL201G3 and UWL202G3 illustrate the close-to-skin role, while VTL201G3 and VTL203G3 illustrate the heated-vest role. The value is not simply "more heat." It is the ability to add targeted torso warmth without asking every other layer to do more work.
That is where active heat earns its place: as a tool inside the layering system, not as a substitute for the system itself.
Use Insulation to Hold Warmth, Not to Fight Weather
Insulation is the quiet layer. Its job is to trap air and slow heat loss. It works best when the base layer is managing internal moisture and the mid / warmth position is doing the job the current conditions require, whether that warmth comes from a regular mid layer, active heat, or both.
The amount of insulation should match how much heat your body is already producing. Too much insulation on an active day can trap excess heat and lead to sweat. Too little during a long stop can let warmth fade too quickly.
Think of insulation as a buffer. It should help retain the warmth your body and other layers have already created without making the system hard to move in or slow to adjust. The right amount lets the rest of the layering system keep working.
Finish With a Shell That Manages Wind and Moisture
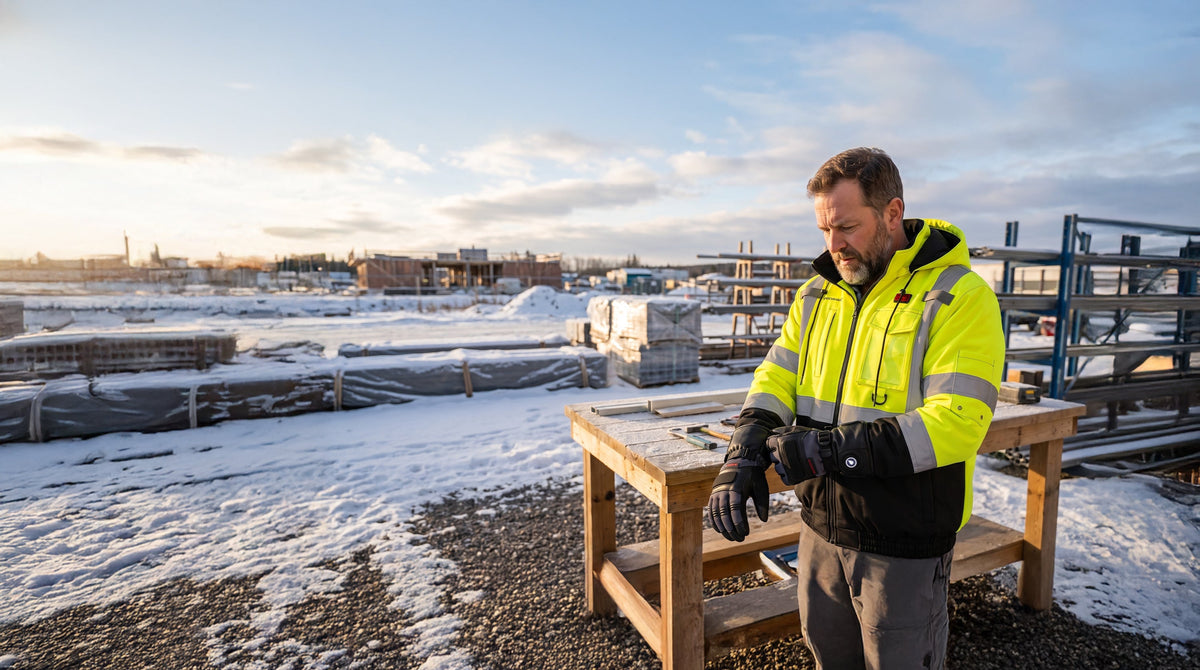
The shell is not your warmth source. It is your weather manager. It handles wind and external moisture from rain, wet snow, or damp conditions. The shell manages what comes from outside; the base layer manages moisture generated inside the system.
A shell matters whenever the day includes exposed walking, damp snow, light rain, or long stretches in moving air. Put it on before wind or wet conditions start undoing the warmth built underneath.
Fit matters here. If the shell is too tight, it can compress the layers underneath and reduce their ability to insulate. If the shell fits poorly or leaves gaps, wind and moisture protection can become less effective.

Adjust the Stack by Activity, Not by Habit
Cold-weather layering works best when you adjust the part of the system that matches the condition change. Decide what changed first.
Use this condition-to-response method:
- Activity increases: Reduce unnecessary warmth or open the system up before sweat builds. That may mean removing insulation, venting where possible, or lowering active heat if you are using it.
- Activity slows or stops: Add insulation or use active heat if it is already part of your system. The problem has shifted from body heat production to heat retention.
- Temperature drops: Reassess whether you need more warmth, more insulation, or earlier weather protection. Add only the part of the system that solves the new problem.
- Wind increases: Move the shell earlier in the decision. Wind is a shell problem before it is an insulation problem.
- Rain or wet snow: Protect the outside first with a shell that handles external moisture, while the base layer continues to manage sweat inside.
- Longer exposure or deeper cold: Build in more heat retention before you leave. That may mean more insulation, a stronger warmth strategy, or a more protective shell depending on the conditions.
If your day shifts from motion to waiting, adjust the layer that solves the next problem. If your day shifts from waiting to motion, remove or reduce the layer that is no longer earning its place.
That is why a layering system is really a decision system. You are not dressing for one weather headline. You are building for the realistic range of conditions, then adjusting as activity and exposure change.
A Simple Cold-Weather Layering Checklist
Before you leave, check:
- Base: Does it still feel comfortable once you start moving?
- Mid / Warmth: Does this position have a clear purpose today, or is a simpler setup enough?
- Insulation: Is there enough to retain warmth without making movement harder?
- Shell: Does it match the wind, rain, snow, or exposure you expect?
- Mobility: Can you still move comfortably after the full system is on?
- Adjustment: Can you add, remove, vent, or reduce warmth as activity and conditions change?
- Transitions: Have you planned for the part of the day when you slow down, stop, or stay exposed longer?
If one of these jobs is unclear, adjust that part of the system before adding another layer. A better layering system is usually not a bigger one. It is a clearer one.
Summary
To layer for cold weather, build from the skin out around BASE → MID / WARMTH → INSULATION → SHELL. Treat these as jobs, not a mandatory clothing count. Use the base layer for skin-side comfort and sweat management, the mid / warmth position for added warmth when conditions call for it, insulation to retain warmth, and the shell for wind and external moisture.
Active heat can be one option within the warmth position, but it should only be used when it solves a real layering need.
The best layering system is not the thickest one. It is the one that adjusts cleanly with activity, temperature, wind, moisture, and exposure.
If the system still does not feel right, check which job is missing before adding another layer.
Before your next cold-weather day, map the conditions you expect to these four jobs and decide which positions you actually need.
Explore related solutions in our heated clothing collection.

Share:
Labor Day Weekend Outdoor Checklist: When to Pack a Heated Vest
What to Wear in 50 Degree Weather: Fall Layering Guide